Are you ready to plunge into the colorful and creative world of embroidery? Embroidery is a great way to express creativity, learn new skills, and make unique pieces. Whether you’re just starting or looking to refine existing techniques – this guide provides tips for beginners and experienced crafters! From essential tools like needles and hoops to necessary stitches that form beautiful patterns, we’ll give you clear instructions on creating exceptional results with your embroidery projects. So get excited, grab some thread, and practice patience – let’s dive in!
What is embroidery, and why do it
Embroidery is an art form that has been around for centuries and is a popular way of personalizing garments and accessories. By using colored threads, sequins, and beads, you can transform a plain item into something extraordinary. Not only does embroidery add texture and dimension to a piece of fabric, but it also allows for creative expression. If you are looking for a relaxing hobby that will help you express your imaginative side, then embroidery could be the perfect choice for you! You can quickly create intricate designs with easy-to-find materials like an embroidery hoop and different floss colors. Embroidery is also remarkable because it can be personalized to fit any style or skill level; there’s something out there for everyone who wants to try this age-old craft!
Common stitches for beginner embroiderers
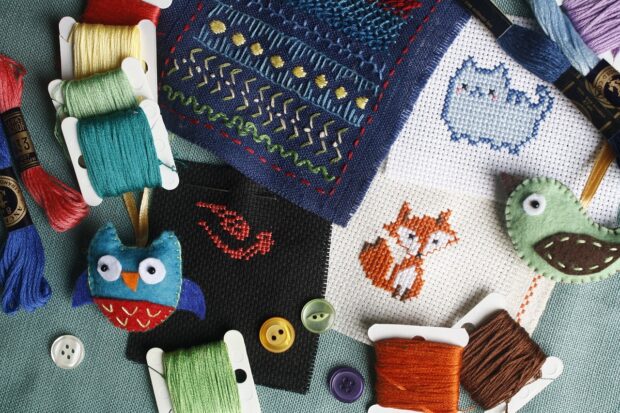
For beginner embroiderers, there are a few basic stitches to start with that provide good practice while also allowing opportunities to create beautiful artwork. A running stitch is the most basic stitch comprising simple up and down stitches forming a line. A back stitch provides a strong edge for outlining designs, shapes, and lettering. For more elaborate work, such as filling in backgrounds, the split stitch is helpful as the individual stitches form an ‘X’ shape and closely follow curves. Once those three basic stitches are mastered, other common stitches, such as chain stitch, blanket stitch, and French knot, add texture and depth to projects. Embroidery is an exciting craft, and getting started only requires some fabric, thread, needles, and imagination!
Tips for choosing the right thread, fabric, and needles
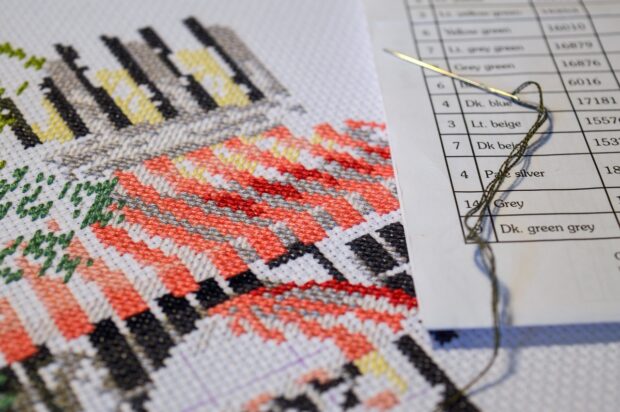
Choosing the right thread, fabric, and needles for a sewing project can be daunting! Consider the fabric type you’re dealing with to make the decision easier. Choose an all-purpose polyester thread for most fabrics, but look for a cotton thread if you’re working with natural fibers like cotton or linen. When selecting material for your project, try to use materials designed for sewing because they tend to hold up under multiple items of washing better than novelty fabrics. Finally, select needles that match the weight and weave of your material; heavier materials require larger hands, and finer fabric needs smaller needle sizes. It can be tempting to purchase the lowest-cost supplies when starting projects, but remember that quality materials will last longer and create a more beautiful finished product.
How to set up your embroidery hoop
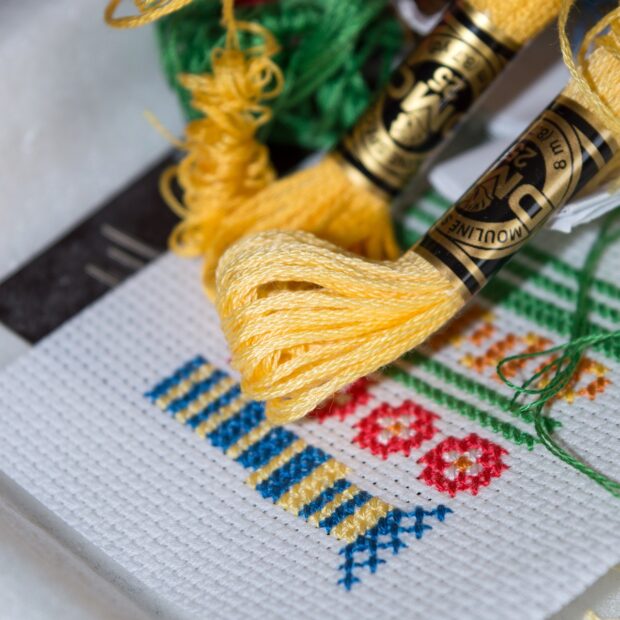
Starting an embroidery project is an exciting way to add beautiful detail to fabric! Selecting the right hoop for your project is a crucial step – too small, and you will have less space to work; too large, and your stitches might not appear. To set one up correctly, check the size of your fabric or item that needs stitching. Once you’ve got the measurements, select a hoop whose inner circle is at least 25% larger than what needs to be embroidered. Now secure one end of the ring with its tension screw, place the fabric between the rings (with the underside facing upwards), and tighten the whole thing evenly. You’re all ready to start stitching!
Different types of embroidery designs you can create
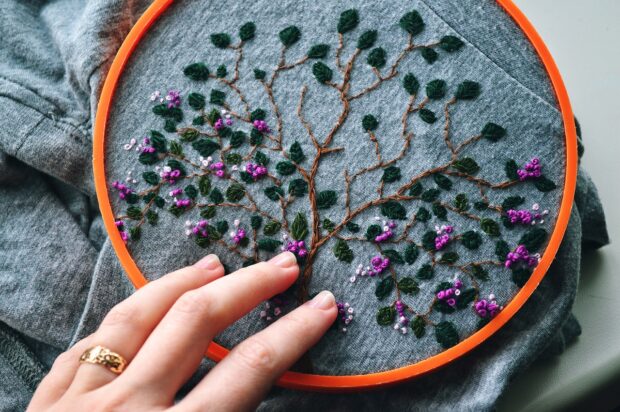
Embroidery offers endless possibilities when it comes to design. Whether you’re an experienced stitcher or new to this crafting hobby, you can create many cool designs! Traditional styles like cross-stitch and crewel work lend beautifully to geometric detail, while French knots can add texture and more intricate designs. Letters and words may also be included to give a personal touch; backstitch is perfect for precise lettering. On the softer side, chain stitch lends itself well to beautiful botanic scenes, and ribbon embroidery is remarkable for creating 3D effects. With even more stitching techniques, such as blanket stitch and feather stitch, the options are endless! Why not give one or two a try?
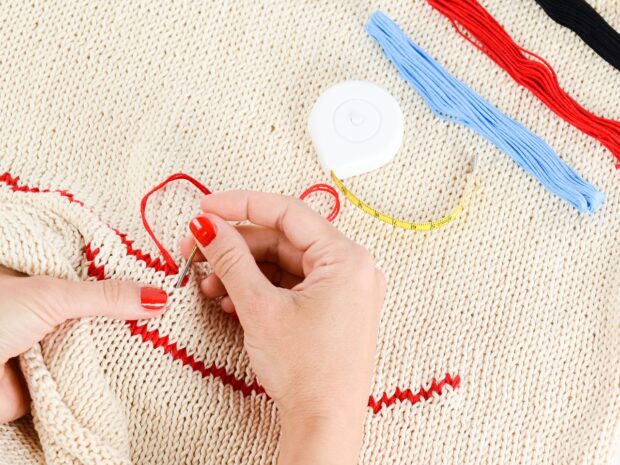
If you need inspiration in the embroidery or craft department, online embroidery designs are a great way to get it. There are online stores like ESN Designs that have tons of different designs to get you started. Instead of starting with a blank canvas, you can browse high-quality online designs and recreate them. Finding a design online can save you time, effort, and resources since playing the entire design is unnecessary. And because online designs come in such wide varieties – from classic patterns to modern graphics – they’ll always bring something new to whatever project you’re working on. So if you want to replicate an inspiring design and don’t know where to start, look online for creative embroidery inspiration!
Tips for creating a successful design from start to finish
Creating a successful design from start to finish is a challenging task. It’s essential to take the time to plan out your strategy and consider how you want it to look once completed. To achieve optimal success, break down your design into manageable steps, research relevant tools and techniques, and review any feedback from a mentor or experienced designer. Don’t discourage experimentation – playing with different color palettes or new fonts can be vital to finding your vision. Finally, remember to keep yourself organized throughout the process – properly labeling designs, taking notes on ideas and inspirations, and creating a detailed timeline can help ensure a result you are proud of!
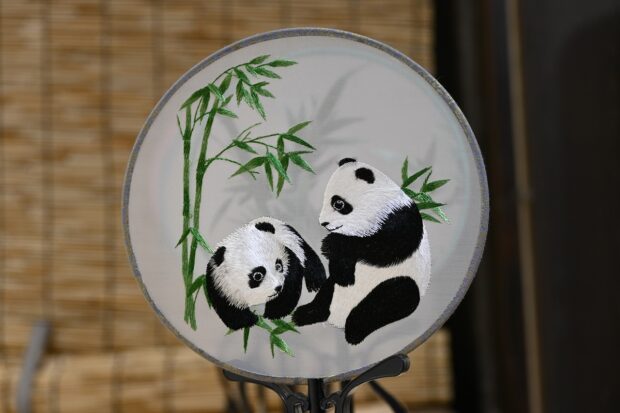
Whether you’re an expert or just starting, there’s something for everyone in the world of embroidery. While it may sound intimidating initially, you can create unique pieces that will wow with some patience and practice. Remember to take your time selecting the right thread, fabric, needles, and hoop, keeping in mind the design you plan on creating. Once the setup is complete, and the hand is ready, it’s time to flex your creative muscles and bring those designs to life! With practice and dedication, you’ll be a master embroiderer in no time! Let your creativity bloom as you explore this beloved pastime—it solely depends on your imagination. So get creative!
The post The Beginner’s Guide to Embroidery: Techniques and Tips appeared first on YourAmazingPlaces.com.
from YourAmazingPlaces.com https://ift.tt/1rIMSCH


0 comments:
Post a Comment